
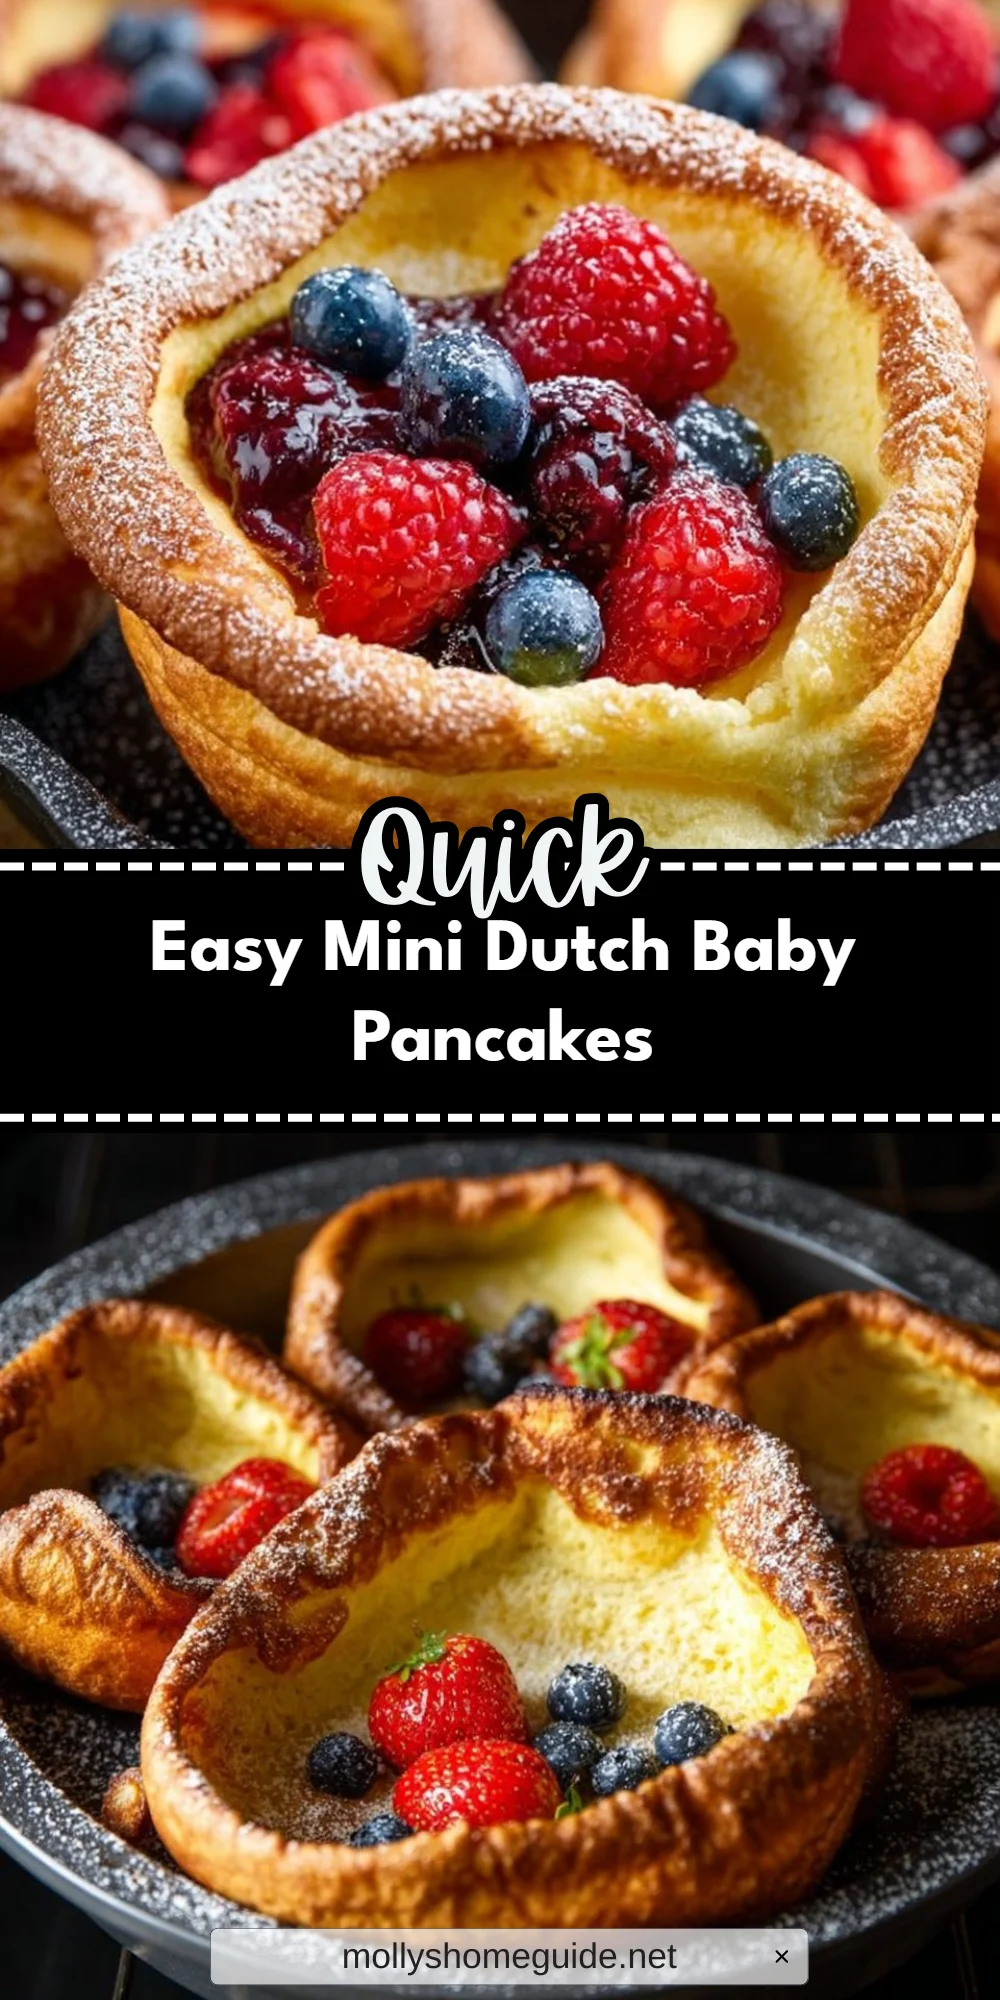
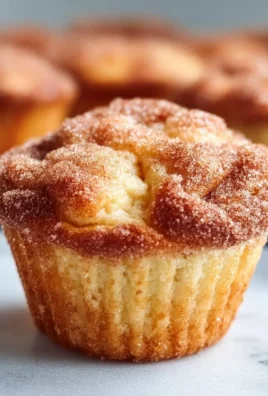
There’s something truly special about Easy Mini Dutch Baby Pancakes that makes my heart flutter every time I pull them out of the oven! The moment they emerge, puffed and golden, they transform into little clouds of joy, their crispy edges cradling a tender, soft center. Topped with fresh berries, sweet jam, or a dusting of confectioners’ sugar, these pancakes are wonderfully indulgent yet incredibly simple to whip up. I often make them for weekend brunches or cozy family breakfasts, and they never fail to bring smiles around the table.
What I love most about these delightful mini pancakes is how quickly they come together—perfect for busy mornings or spontaneous gatherings! You can serve them as a fun breakfast treat or even as a dessert, and if you happen to have leftovers (which is rare), they keep surprisingly well. Just pop them in the fridge, and you can enjoy their deliciousness again!
WHY I LOVE EASY MINI DUTCH BABY PANCAKES
Easy Mini Dutch Baby Pancakes hit that sweet spot between comfort and elegance. They are incredibly easy and undeniably delicious, like a hug on a plate that brings warmth to my heart. Plus, there’s something so satisfying about watching them puff up as they bake, making them a true winner at my table. Whether I’m hosting friends or enjoying a quiet morning with my family, these little gems always impress!
EASY MINI DUTCH BABY PANCAKES INGREDIENTS
The magic of this recipe truly lies in the harmony of simple ingredients that come together beautifully. Each one plays a crucial role in achieving that perfect puff and delightful taste. Don’t worry about exact measurements just yet; those are all in the recipe card for you!
Essential Components
- 1 Tbsp VEGETABLE OIL: This little gem helps create a golden crust while keeping the pancakes moist inside.
- 4 LARGE EGGS, room temperature: Eggs are the backbone of our pancake batter, providing structure and richness.
- 2/3 cup (80g) ALL-PURPOSE FLOUR: This is what helps achieve that tender texture we love, combined with a bit of fluffiness!
- 1/2 cup WHOLE MILK, room temperature: Whole milk adds creaminess and helps the batter come together smoothly.
- 1/4 cup (50g) GRANULATED SUGAR: Just the right amount of sweetness that complements any toppings beautifully.
- 1/2 tsp KOSHER SALT: A pinch of salt amplifies all the flavors and balances the sweetness.
- 1/4 tsp VANILLA BEAN PASTE or PURE VANILLA EXTRACT: Vanilla adds an aromatic quality, making these pancakes even more inviting.
- FRESH BERRIES, JAM, and/or CONFECTIONERS’ SUGAR (for serving): These are the finishing touches that elevate these pancakes into a delightful treat.
SUBSTITUTIONS AND TIPS
Need a swap? If you’re out of a specific ingredient, here are a few ideas:
- Vegetable Oil: You could use melted butter for a richer flavor, though it won’t be quite as light.
- Whole Milk: Any milk alternative will do—almond or oat milk works nicely, but adjust sugar levels accordingly.
- Granulated Sugar: Brown sugar adds a lovely caramel note if you want a little depth.
And if you find yourself with extra time, letting the batter sit for a bit before baking can enhance the flavor—it’s a great tip to keep in mind!
KITCHEN TOOLS YOU’LL NEED
- Standard 12-cup muffin tin
- Blender or mixing bowl with a whisk
- Measuring cups and spoons
- Rubber spatula
- Oven mitts
- Serving platter
HOW TO MAKE EASY MINI DUTCH BABY PANCAKES
Let’s dive into creating these delightful mini Dutch baby pancakes. I’ve broken down the process into simple steps. Follow along, and you’ll have a delicious meal in no time—we’re aiming for light and airy pancakes, ready for their tasty toppings!
Preheat and Prepare
First, place a rack in the upper third of the oven and preheat it to 375°F. Grease a standard 12-cup muffin tin with the vegetable oil and place it in the oven to preheat—this step is key to achieving that perfect puff!
Blend Until Smooth
Now grab your blender! Blend together the eggs, flour, milk, sugar, salt, and vanilla until the mix is smooth and creamy. Don’t worry if there are a few lumps; we’re not aiming for perfection here, just a delightful batter.
Let It Rest
Once blended, let the batter sit for about 5 to 10 minutes. This short rest allows it to thicken slightly and helps develop a better texture.
Fill the Muffin Tin
Carefully remove the preheated tin from the oven—watch your fingers! Working quickly, divide the batter evenly among the hot muffin cups. You want each cup about halfway full to allow for puffing.
Bake into Perfection
Bake for 20 to 25 minutes, until they are puffed up and golden brown around the edges. As they bake, your kitchen will start smelling heavenly—trust me, it’s hard to resist!
Serve and Enjoy
Finally, transfer the mini pancakes to a platter and top with fresh berries, jam, or a dusting of confectioners’ sugar before serving immediately. They are best enjoyed fresh out of the oven while they are still warm and airy!
HOW TO STORE EASY MINI DUTCH BABY PANCAKES
If you happen to have any leftover pancakes (which I highly doubt!), you can store them in an airtight container in the refrigerator for up to 3-4 days. For longer storage, try freezing them for up to 2-3 months—just thaw them in the fridge overnight before reheating. To rewarm, pop them in the oven at a low temperature for a few minutes. They’ll taste very close to fresh!
TIPS FOR SUCCESS
- Use room temperature ingredients for a smoother batter—this makes a significant difference in texture!
- Don’t open the oven door during baking; the sudden temperature change can deflate the pancakes.
- Ensure your muffin tin is adequately greased. The oil creates that desirable crispy edge.
- Experiment with toppings—from maple syrup to a dollop of yogurt; the possibilities are endless!
SERVING SUGGESTIONS
- Pair with crispy bacon or sausage for a hearty breakfast.
- Enjoy with a hot cup of coffee or tea for a delightful brunch.
- Try a sprinkle of nuts or seeds for added crunch.
- Serve alongside a fresh fruit salad for a colorful presentation.
- Drizzle with chocolate sauce for a decadent dessert twist!
Enjoy the bliss of these Easy Mini Dutch Baby Pancakes at your next meal. They are sure to become a cherished favorite in your kitchen! 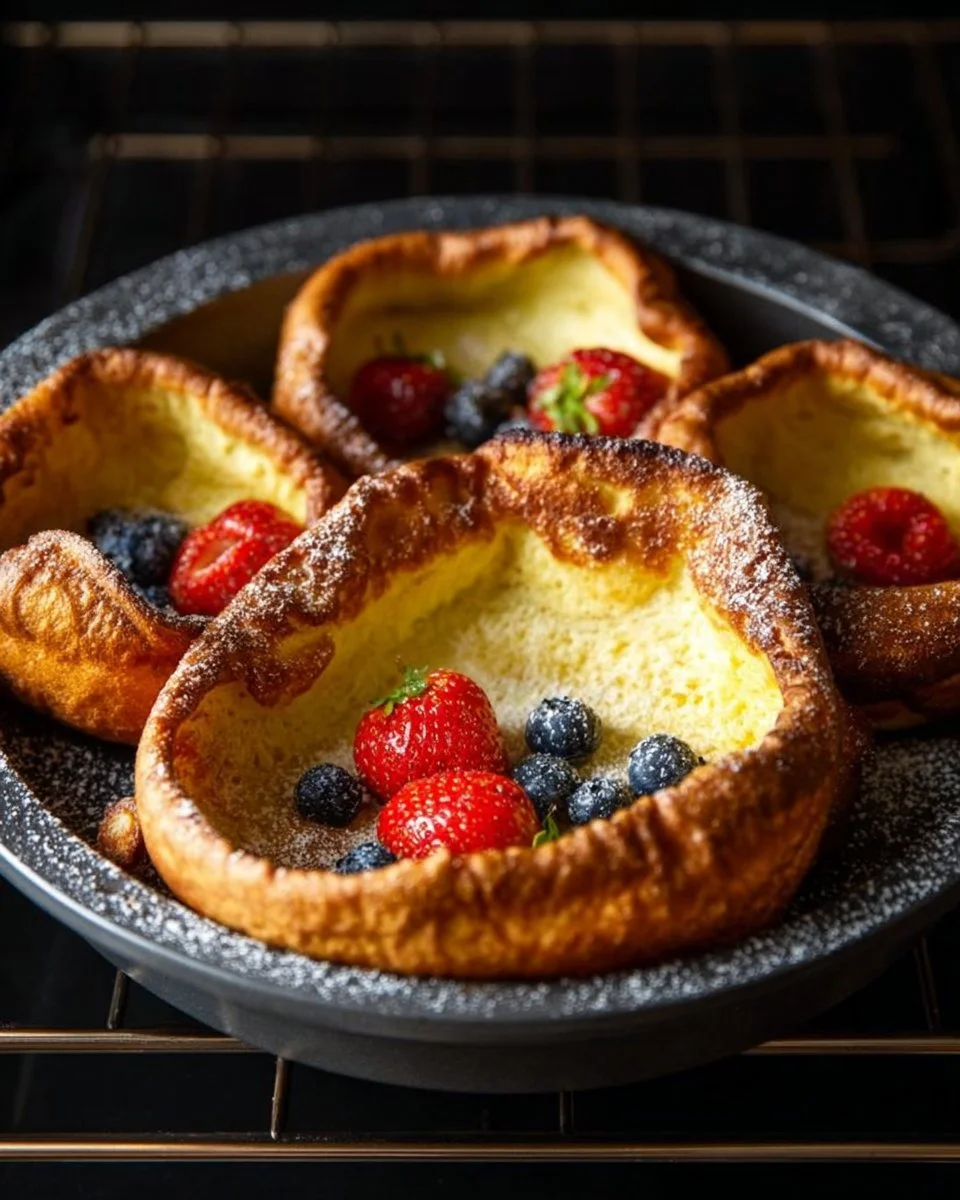
Leave a Comment