

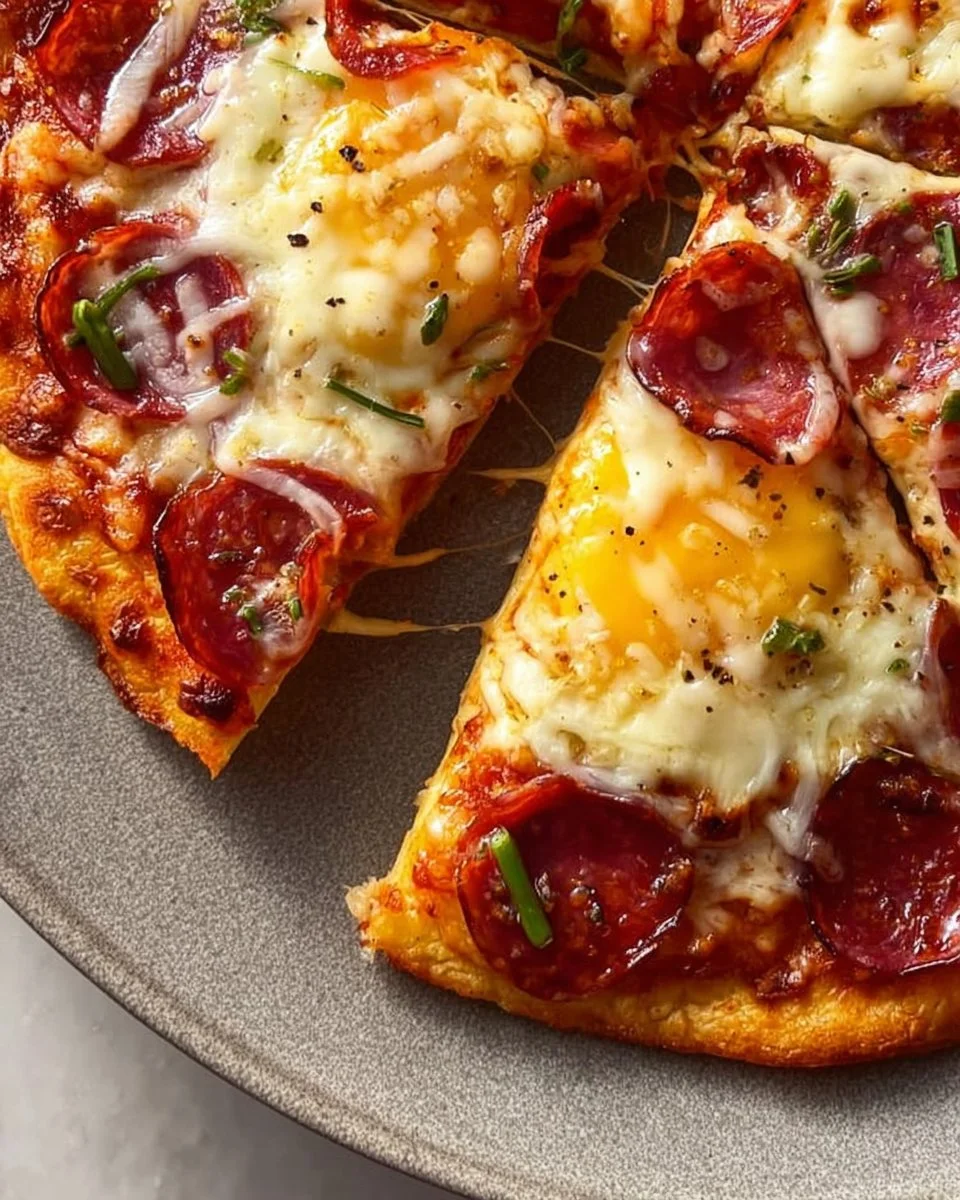
There’s something truly special about the way Pizza Eggs come together, transforming the classic flavors of a beloved dish into a comforting breakfast or brunch delight. Picture this: a crispy, golden base of melted cheese, fluffy eggs resting atop, brightened with tangy passata, and speckled with savory salami. Each bite is a harmonious blend of textures—crunchy, creamy, and indulgent. I make this dish when I want to feel cozy and satisfied, whether it’s a lazy weekend morning or a quick weeknight meal that calls for a burst of flavor.
What I love about Pizza Eggs is how quickly they come together, making them perfect for busy mornings or spontaneous gatherings. You can serve them up on a weekday after a long night or whip them up when friends drop by for brunch. They’re versatile; you can tweak the toppings based on what’s in your fridge, and leftovers—if there are any—heat up beautifully, making it a dish that keeps on giving.
Why I Love Pizza Eggs
Pizza Eggs are a true winner at my table! They’re incredibly easy and undeniably delicious, hitting that sweet spot of comfort food while being hearty enough to satisfy. The combination of eggs and cheese is a classic, but the playful twist of adding pizza flavors elevates it to something really special. Whenever I make these, I know I’m in for a treat, and everyone who tries them seems to agree.
Pizza Eggs Ingredients
The magic of this Pizza Eggs truly lies in the simplicity of its ingredients, each playing a vital role in creating that unforgettable flavor. Don’t worry about exact measurements just yet; those are all in the recipe card for you!
Essential Components
- 3 EGGS: The base of our dish, they provide that beautiful fluffiness and protein.
- 60 g REDUCED-FAT CHEESE: These little gems pack a mighty punch of flavor while keeping it lighter, plus they give us that golden, crispy crust we love.
- 1 tbsp PASSATA: This vibrant tomato sauce adds a creamy, tangy layer that complements the other ingredients perfectly.
- A FEW SLICES SALAMI: Deliciously rich, they bring a savory kick that enhances the pizza essence.
- MIXED HERBS: The final flourish adds freshness and a pop of color, rounding out the flavor profile beautifully.
Substitutions and Tips
Need a swap? If you’re looking to change things up a bit, here are a few substitutions and flavor variations worth trying:
- CHEESE: Swap in mozzarella for a more traditional pizza feel, but remember, it might be a tad richer.
- PASSATA: Feel free to use pizza sauce or even a homemade tomato sauce if you’re feeling ambitious!
- SALAMI: Pepperoni or turkey slices can be fantastic alternatives for a twist on the flavor.
- HERBS: Fresh basil or oregano can elevate the dish even further, giving it a garden-fresh vibe.
And don’t forget, if you have a non-stick pan, it will truly help prevent sticking during the flipping step!
Kitchen Tools You’ll Need
- Non-stick skillet (preferably 20-25 cm)
- Whisk or fork for beating eggs
- Spatula (heat-resistant is best)
- Lid for the skillet
- Measuring spoons (if you want to be precise)
How to Make Pizza Eggs
Let’s dive into creating these wonderfully satisfying Pizza Eggs. I’ve broken down the process into simple steps. Follow along, and you’ll have a delicious meal in no time. We’re aiming for a crispy base topped with fluffy eggs and melty cheese—it’s going to be fantastic!
Heat the Skillet and Prepare the Cheese
First, grab your non-stick skillet and heat it over medium. Sprinkle the reduced-fat cheese evenly across the bottom, allowing it to melt and become slightly crispy. This step is key to achieving that delightful base that brings everything together!
Whisk the Eggs for Fluffiness
Next, while the cheese is melting, crack your eggs into a bowl and whisk them until smooth and frothy. This helps incorporate air into the eggs, giving you that lovely fluffy texture. It’s a simple step, but it makes a big difference.
Cook the Eggs to Set the Base
Now, pour the whisked eggs over the melted cheese in the skillet. Cover it with a lid and let it cook until the bottom is firm and golden—about 3-4 minutes. Keep an eye on it; we want a lovely golden hue without burning.
Carefully Flip for Even Cooking
Once the bottom is set, it’s time to gently flip the egg-cheese base using a spatula. Be careful not to break it! This step allows the top side to cook evenly, so we end up with a perfectly rounded egg dish.
Spread on the Passata for Tangy Flavor
Next, spread the passata evenly over the cooked side, and then layer on the slices of salami. Sprinkle the remaining cheese on top, bringing all those lovely flavors together. Cover again for another couple minutes until the cheese is melted and everything is heated through.
Garnish and Serve with Love
Finally, remove the dish from the pan, sprinkle with mixed herbs, and serve immediately. Enjoy this delightful creation while it’s still warm, with a touch of love in every bite. It really is a crowd-pleaser!
How to Store Pizza Eggs
Leftover Pizza Eggs can be a real treat for the next day! If stored properly in an airtight container in the fridge, they’ll stay fresh for about 3-4 days. Just pop them in the microwave to reheat, or enjoy them cold in a pinch. If you’re feeling adventurous, you can freeze them for up to 2-3 months. When thawing, let them sit in the fridge overnight and reheat gently.
Tips for Success
- Use fresh ingredients whenever possible for the best flavor.
- Allow the cheese to crisp up nicely before flipping!
- Keep the heat at medium to avoid burning the base while ensuring the eggs cook through.
- Experiment with toppings and herbs to suit your taste.
Serving Suggestions
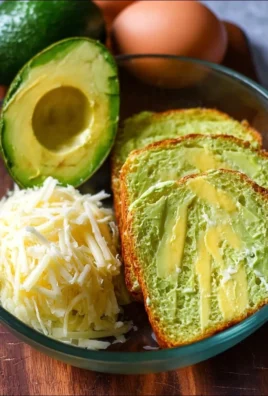
- Serve alongside fresh avocado slices for a creamy addition.
- Pair with a refreshing arugula salad drizzled with balsamic for a contrast of flavors.
- Offer a side of crusty bread to soak up any leftover passata—yum!
- Enjoy with a freshly squeezed orange juice for a bright morning boost.
- Garnish with thinly sliced green onions or a sprinkle of chili flakes for an extra kick!
I hope you enjoy making these delicious Pizza Eggs as much as I do. They are truly a comforting dish that packs a punch of flavor!

Leave a Comment