
Indulging in a scoop of creamy, homemade pistachio ice cream can transform a simple day into something extraordinary. This Ninja Creami Pistachio Ice Cream No Artificial Dyes is not only delicious but incredibly easy to make, requiring just a few simple ingredients and about 24 hours of freezing time. The charm of using natural ingredients ensures that every bite bursts with wholesome flavor without any artificial additives.
This recipe is perfect for anyone yearning for a refreshing treat, especially during warm summer days or special occasions. It’s great to make ahead of time and store for satisfying cravings down the road. Whether you’re entertaining guests or simply wanting to enjoy a quiet evening at home, this ice cream is a delightful addition to your dessert repertoire.
Why You’ll Love This Recipe
- The combination of cream cheese and half-and-half creates an impressively creamy texture.
- Raw pistachios provide a delightful crunch and rich flavor.
- The almond extract adds a subtle yet aromatic quality to every scoop.
- It requires no artificial dyes, making it a clean and wholesome dessert option.
What You’ll Need
Here’s everything you need to whip up this delicious ice cream.
For the Base
- 1 tablespoon softened cream cheese
- 1/3 cup sugar or Munk Fruit
- 1 teaspoon almond extract
- 3/4 cup half-and-half
- 1/2 to 3/4 cups milk (add to the fill line)
For the Pistachios
- 1/3 cup finely chopped raw pistachios
- A few raw pistachios to serve on top
Use Munk Fruit for a sugar-free version.
Substitutions & Swaps
- Cream cheese: mascarpone or Greek yogurt
- Almond extract: vanilla extract or omit
- Sugar: natural sweeteners like honey or agave
How to Make It
Creating this ice cream is a straightforward process that will reward you with a delicious treat.
Soften
Soften 1 tablespoon of cream cheese in the microwave for 15 seconds. This will make it easier to mix with the other ingredients.
Mix
In a medium bowl or a large measuring cup, combine the softened cream cheese and sugar (Munk Fruit) and mix well. Ensure it is well-blended for a smooth consistency.
Add
Add the almond extract to the mixture and blend. This step infuses the base with a rich, nutty aroma.
Incorporate
Next, pour in the half-and-half, stirring until fully combined. This will create the creamy texture that makes the ice cream delectable.
Process
In a food processor or coffee grinder, process/chop the pistachios into a fine rough chop, but avoid making them flour-like. This will allow for delightful bits of pistachio in every bite.
Combine
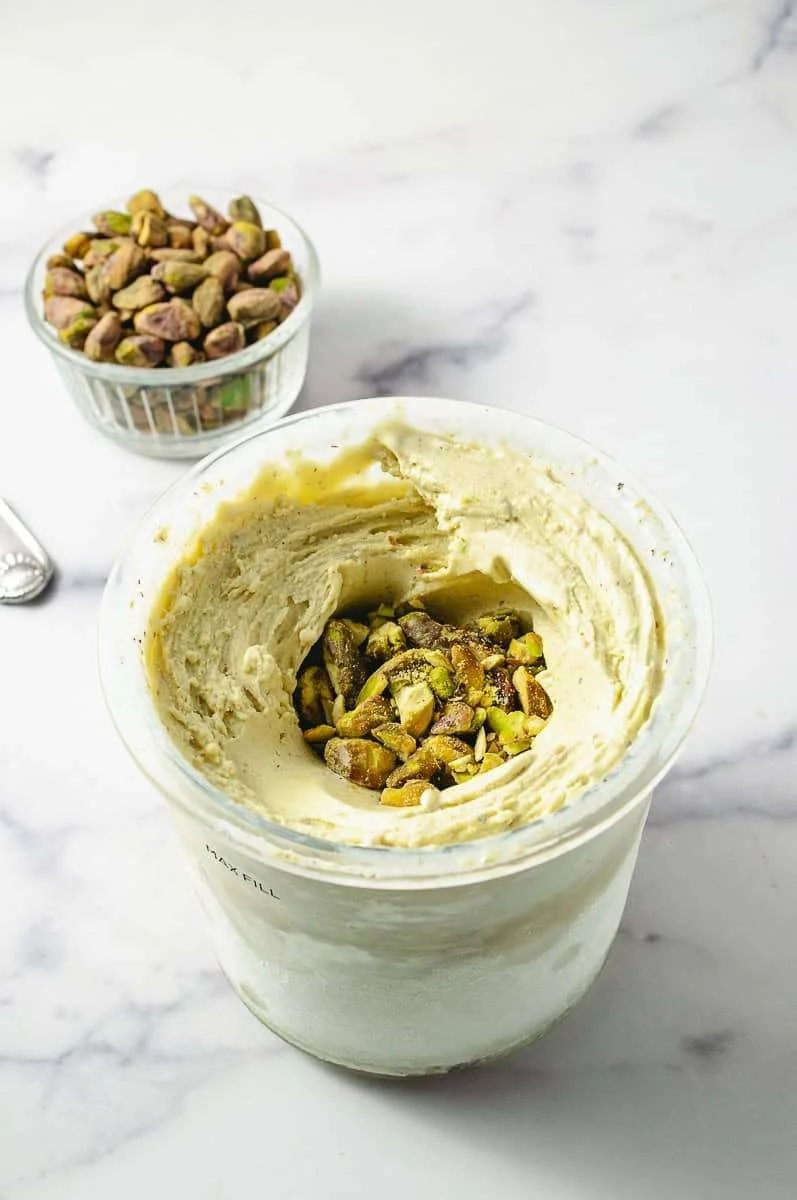
Add the ice cream mixture, chopped pistachios, and milk to the max fill line in a Ninja Creami pint container. This combination is crucial for achieving the perfect texture.
Freeze
Place the storage lid on top of the pint container and freeze for at least 24 hours. This long freeze time is essential for forming a solid ice cream.
Rest
When you’re ready to enjoy your Pistachio Ice Cream the next day, take the pint container out of the freezer and let it rest on the counter for 10 to 15 minutes. This helps achieve the creamy texture you desire.
Process
Place the pint container in the outer bowl of the Ninja Creami, secure the blade, and attach the outer bowl lid assembly. Set it on the Ninja Creami machine and choose the "Ice Cream" function.
Re-spin
If the ice cream is a little crumbly, put it back on the Ninja Creami machine and use the re-spin function for a smoother consistency.
How to Store It
Fridge: 3 to 4 days in an airtight container
Freezer: Yes, for an extended period of storage
Reheat: Let sit at room temperature for 10 minutes
Tips for Best Results
- Ensure cream cheese is fully softened for easy blending.
- Use a high-quality almond extract for richer flavor.
- Allow sufficient freezing time for the best texture.
- Monitor the consistency during the process, re-spinning as needed.
Serving Suggestions
- Serve with a sprinkle of crushed pistachios on top for added crunch.
- Pair with warm chocolate sauce for a delightful contrast.
- Enjoy alongside a fresh fruit platter for a refreshing dessert experience.

Leave a Comment