
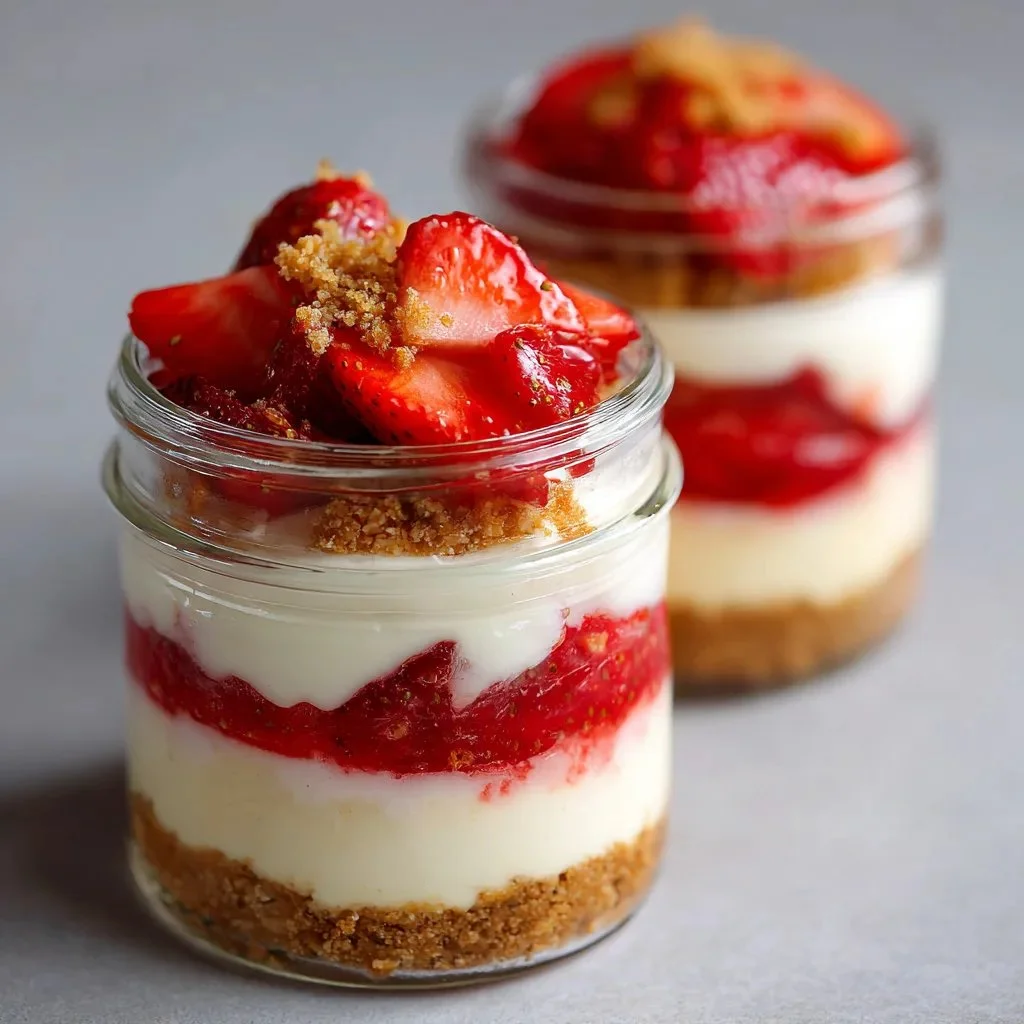
The sweet scent of fresh strawberries wafts through the kitchen as I prepare a treat that promises to please. These delightful No-Bake Strawberry Cheesecake Jars take just about 30 minutes to whip up, excluding chill time, and the contrast of creamy filling with a crunchy graham cracker crust is simply irresistible. Each spoonful brings a joyous burst of flavor, perfect for summer gatherings or a casual weeknight dessert.
This recipe is ideal for anyone longing for a simple yet impressive dessert to share at parties, picnics, or family dinners. It’s a fantastic make-ahead option since the jars can be stored in the refrigerator for up to three days, allowing you to save time before your next event.
Why You’ll Love This Recipe
- The no-bake process makes it a quick and easy dessert option.
- Layering presents beautifully in jars for stunning visuals.
- The combination of creamy cheesecake and fresh strawberries creates a perfect taste harmony.
- Each bite offers a delightful crunch from the graham cracker crust.
What You’ll Need
Gather these ingredients to create the perfect no-bake cheesecake jars.
For the Crust
- 1 cup graham cracker crumbs
- 1/4 cup unsalted butter, melted
For the Cheesecake Filling
- 2 cups cream cheese, softened
- 1 cup powdered sugar
- 1 teaspoon vanilla extract
- 1 cup heavy whipping cream
For the Topping
- 2 cups fresh strawberries, sliced
Note: Use gluten-free graham crackers for a gluten-free version.
Substitutions & Swaps
- Cream cheese: Neufchâtel cheese for lower fat
- Heavy cream: Coconut cream for dairy-free
- Strawberries: Any fresh berries work well
How to Make It
Creating these jars is a breeze with just a few simple steps.
Mix crust
In a bowl, mix graham cracker crumbs and melted butter until combined. Ensure the crumbs are evenly coated for a consistent crust.
Press crust into jars
Press the mixture into the bottom of each jar to form the crust. This provides a solid base for the cheesecake filling.
Combine filling ingredients
In a separate bowl, beat the cream cheese, powdered sugar, and vanilla extract until smooth. This ensures a creamy texture without lumps.
Whip the cream
In another bowl, whip the heavy cream until stiff peaks form. Be careful not to overwhip; stop once the peaks are firm but still smooth.
Fold whipped cream into mixture
Gently fold the whipped cream into the cream cheese mixture until well combined. This technique keeps the filling light and airy.
Layer cream cheese mixture
Layer the cream cheese mixture over the crust in each jar. Use a spoon or spatula to create an even layer.
Add strawberries
Add a layer of sliced strawberries on top of the cream cheese mixture. This adds freshness and vibrant color to your dessert.
Repeat layers
Repeat the layers until the jars are filled, finishing with strawberries on top. This creates a beautiful presentation.
Chill before serving
Chill in the refrigerator for at least 2 hours before serving. This allows the flavors to meld and the filling to set for optimal enjoyment.
How to Store It
Fridge: up to 3 days in airtight containers.
Freezer: no, the texture will change.
Reheat: not applicable; enjoy cold.
Tips for Best Results
- Let cream cheese come to room temperature for easier mixing.
- Use a piping bag for neat layering if desired.
- Select ripe strawberries for maximum flavor.
Serving Suggestions
- Serve with a dollop of whipped cream on top.
- Pair with a glass of sparkling wine for a festive touch.
- Enjoy as a fun treat at summer barbecues.
Leave a Comment